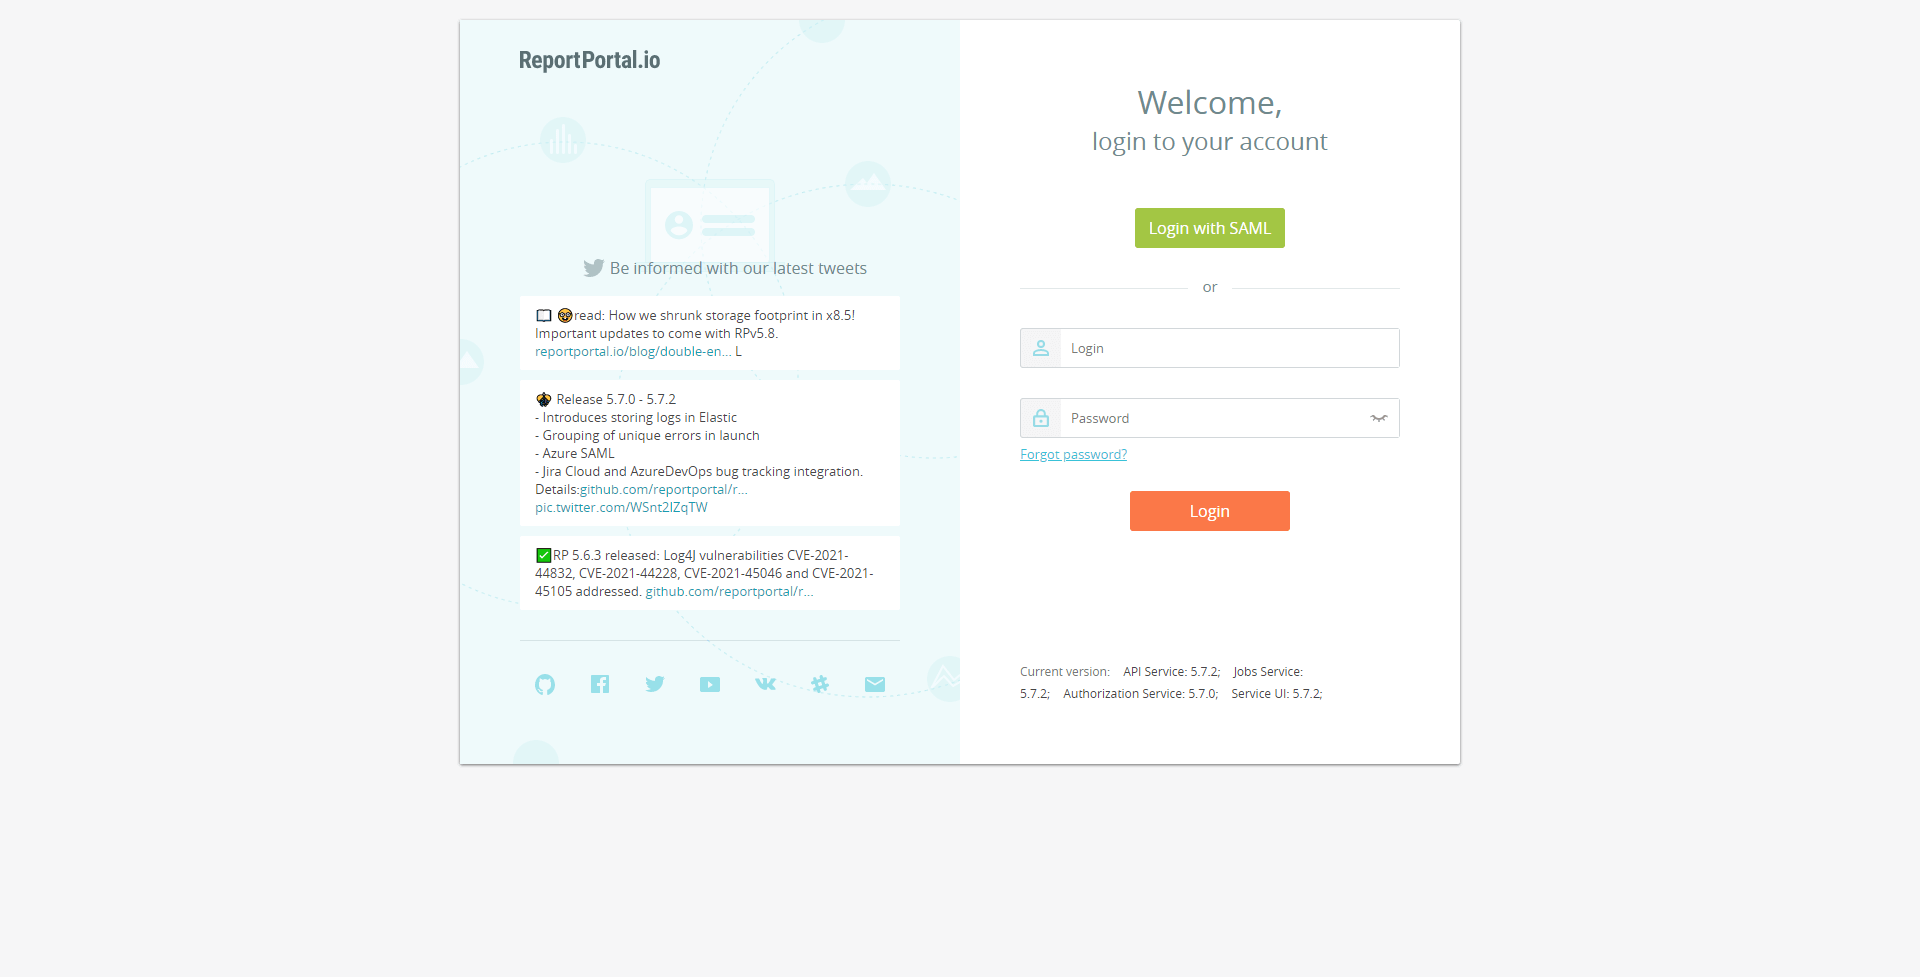
Integrating ReportPortal with Keycloak: A Step-by-Step Guide
Configure single sign-on for ReportPortal using Keycloak as the SAML identity provider. This guide covers creating the Keycloak SAML client and enabling the integration on the ReportPortal side.
It is also possible to install ReportPortal using the cluster add-ons. For details, please refer to the Install via Add-Ons page.
Prerequisites
- Keycloak is installed. For detailed instructions, please refer to the provided documentation.
- ReportPortal is installed. To install it using the Helm Chart, please follow the instructions outlined in the corresponding documentation.
Keycloak Configuration
The Keycloak configuration can also be applied using Keycloak resources from the Cluster Add-Ons repository. To apply the Keycloak configuration, the Keycloak Operator is required. For installation details, refer to the Install Keycloak Operator page.
-
Navigate to Client Scopes > Create client scope and create a new scope with the SAML protocol type.
-
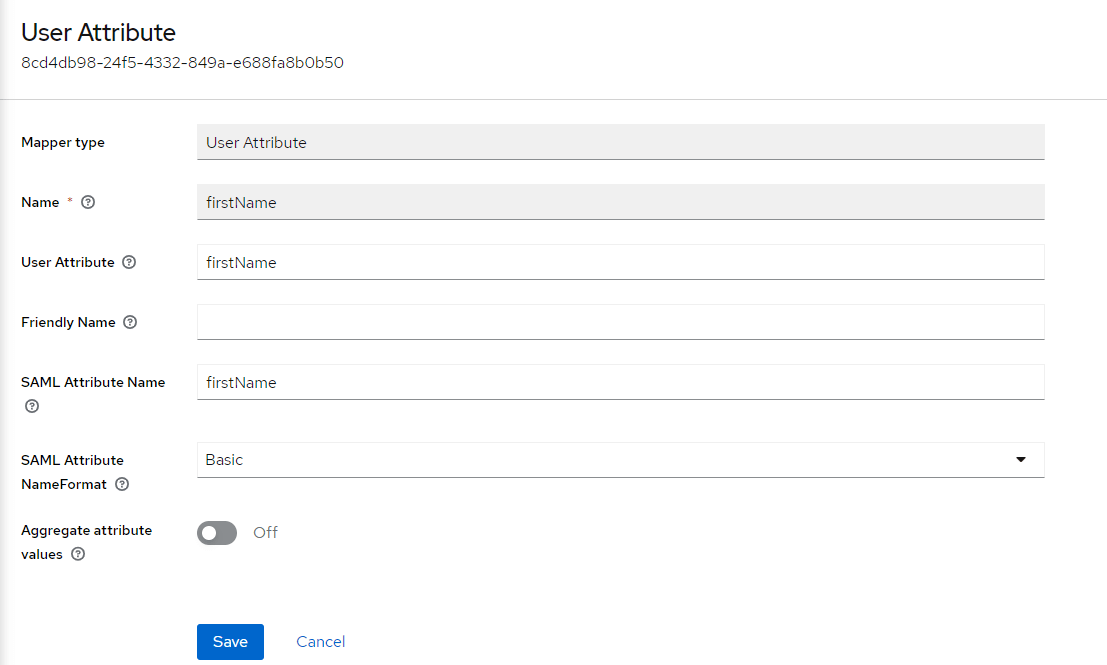
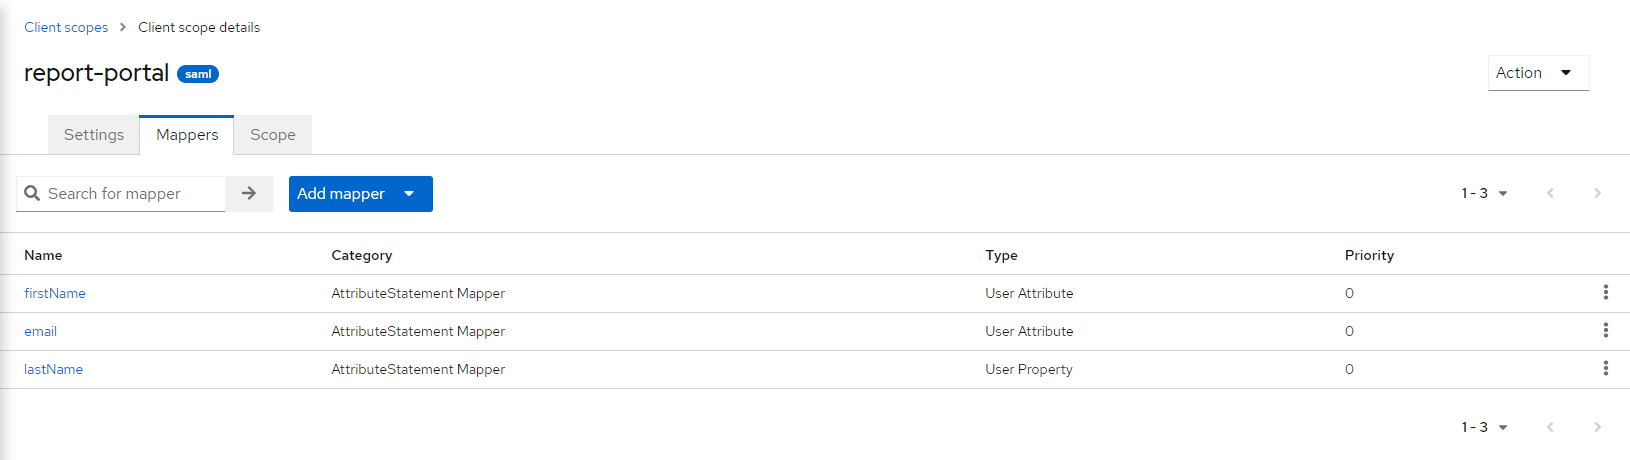
Navigate to Client Scopes > your_scope_name > Mappers > Configure a new mapper > select the User Attribute mapper type. Add three mappers for the email, first name, and last name by typing
lastName,firstName, andemailin the User Attribute field:- Name is a display name in Keycloak.
- User Attribute is a user property for mapping.
- SAML Attribute Name is an attribute used for requesting information in the ReportPortal configuration.
- SAML Attribute NameFormat:
Basic. - Aggregate attribute values:
Off.
-
Navigate to Clients > Create client and fill in the following fields:
- Client type:
SAML. - Client ID:
report.portal.sp.id.
warningThe
report.portal.sp.idClient ID is a constant value. - Client type:
-
Navigate to Client > your_client > Settings and add
https://<report-portal-url>/*to the Valid redirect URIs. -
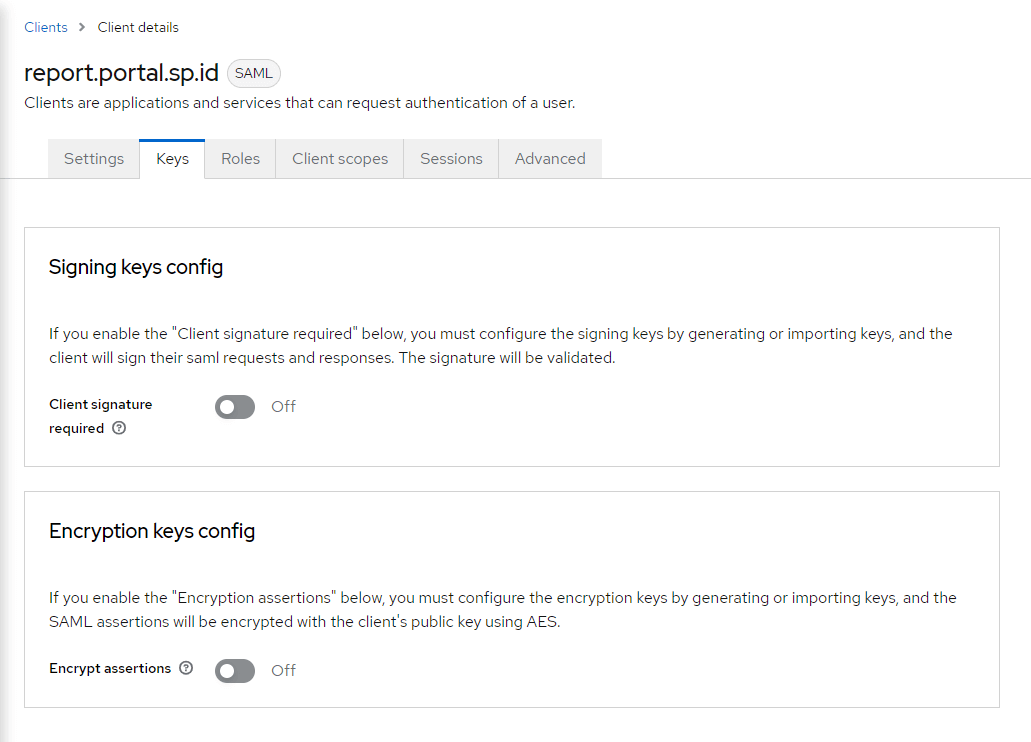
Navigate to Client > your_client > Keys and disable Client signature required.
-
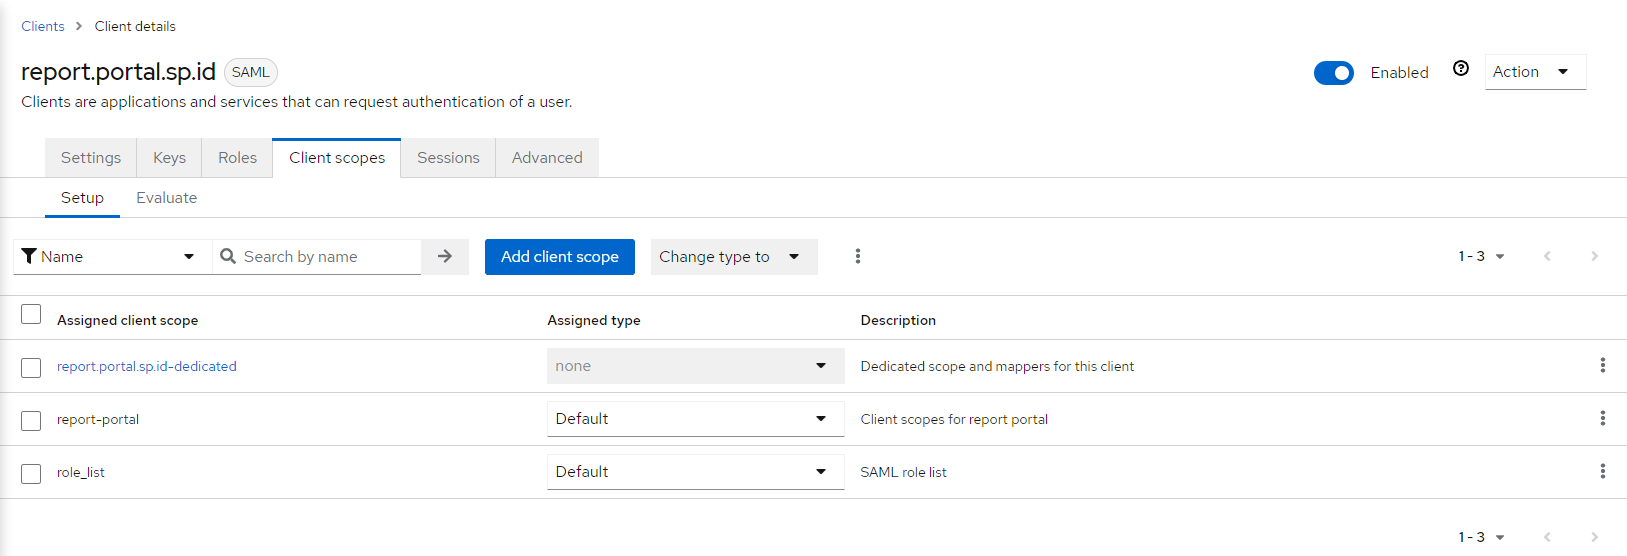
Navigate to Client > your_client > Client scopes and add the scope created on step 3 with the default Assigned type.
ReportPortal Configuration
-
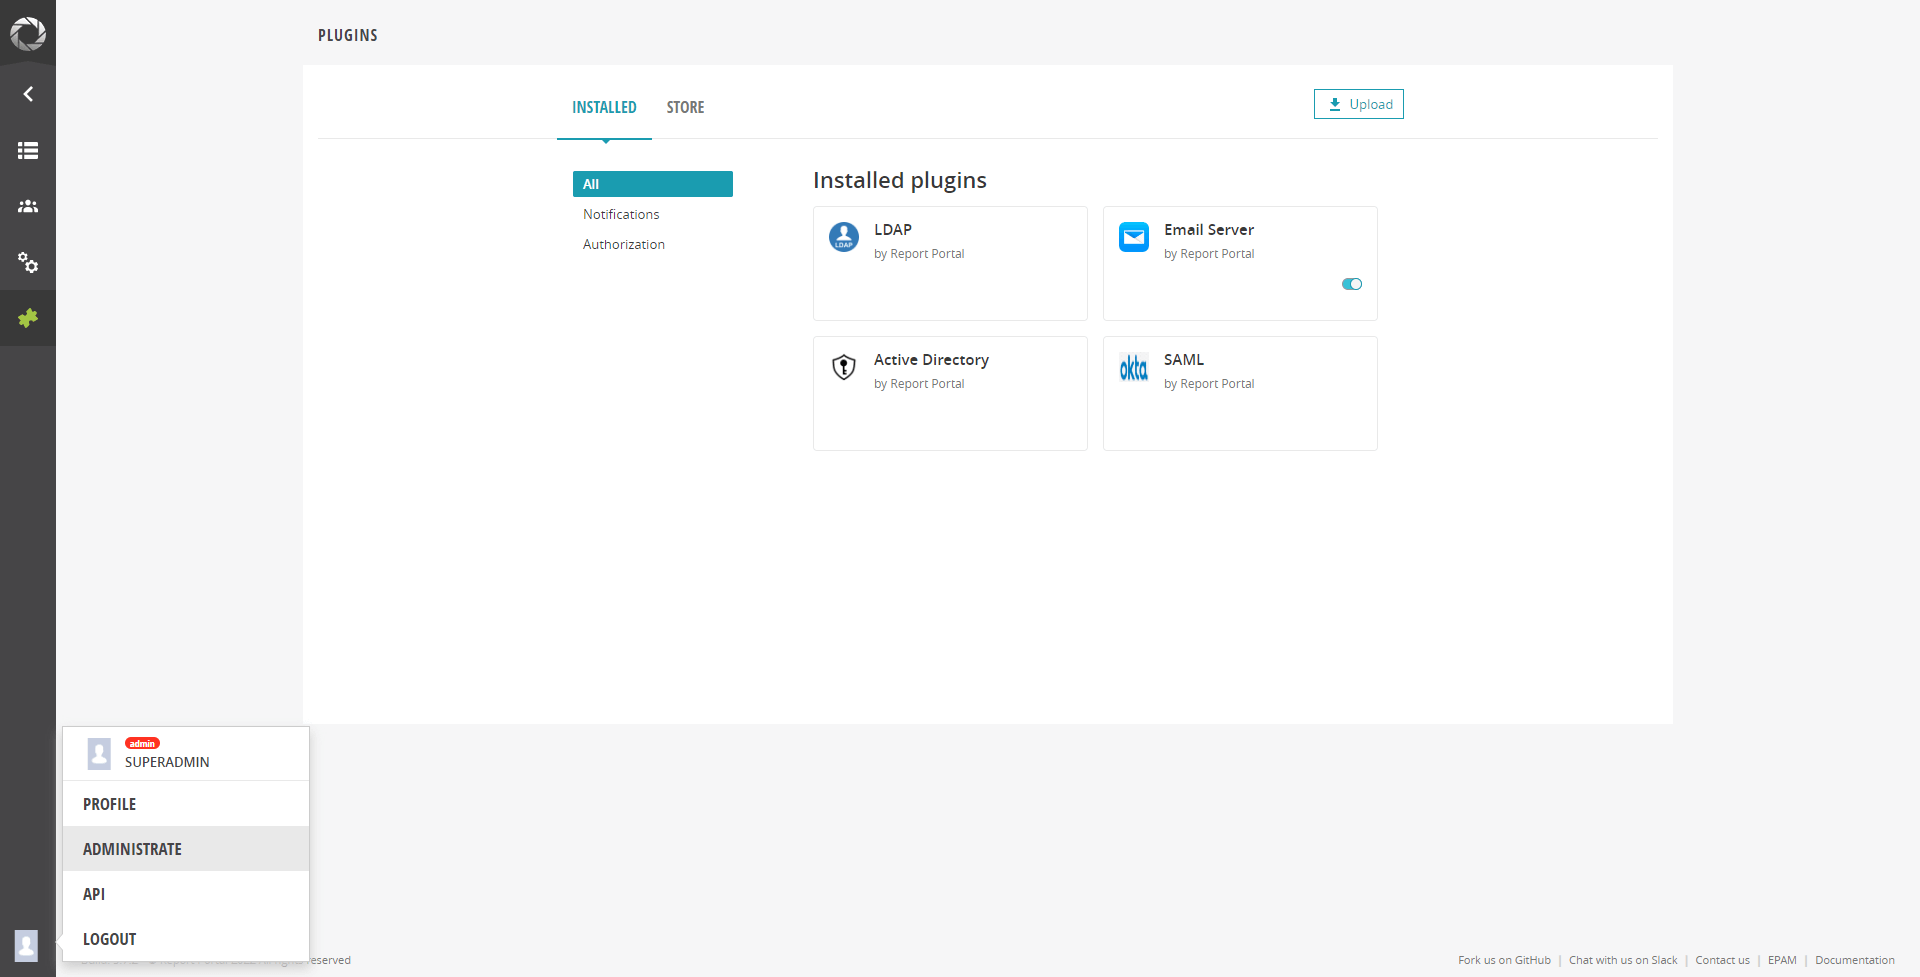
Log in to the ReportPortal with the admin permissions.
-
Navigate to Client > Administrate > Plugins and select the SAML plugin.
-
To add a new integration, fill in the following fields:
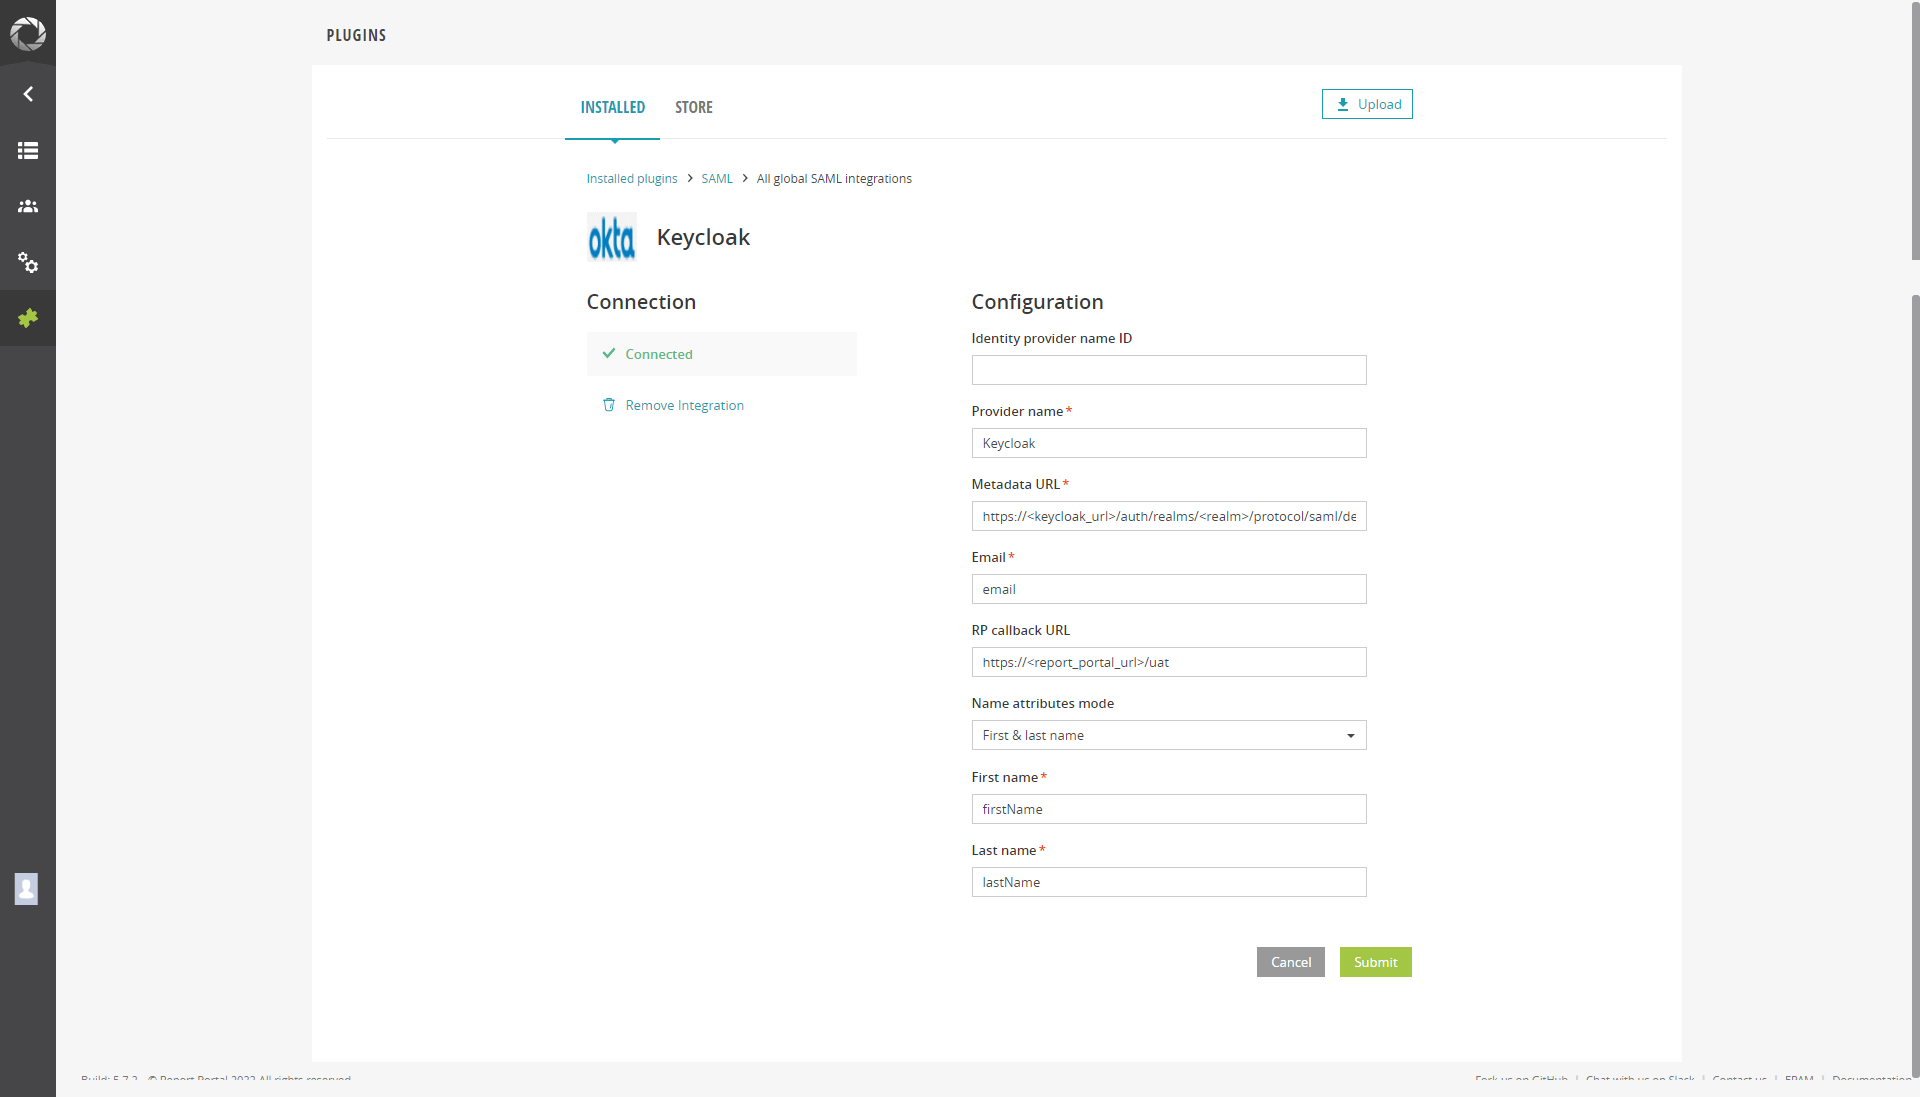
- Provider name is the display name in the ReportPortal login page.
- Metadata URL
https://<keycloak_url>/auth/realms/<realm>/protocol/saml/descriptor. - Email is the value from the SAML Attribute Name field in the Keycloak mapper.
- RP callback URL
https://<report_portal_url>/uat. - Name attributes mode is the first & last name (type based on your mapper).
- First name is the value from the SAML Attribute Name field in the Keycloak mapper.
- Last name is the value from the SAML Attribute Name field in the Keycloak mapper.
-
Log in to the ReportPortal.
noteBy default, after the first login, ReportPortal creates the
<your_email>_personalproject and adds an account with theProject managerrole.