Deploy Application With Custom Build Tool/Framework
This use case demonstrates how to implement custom CI/CD pipelines within the KubeRocketCI platform to address project-specific requirements. KubeRocketCI extends this capability by supporting the customization of Applications (Components) and Tekton pipelines, allowing teams to integrate and develop functionalities or services not readily available on the platform.
Goals
- Incorporate and manage custom Tekton pipeline libraries that addresses project requirements.
- Modify existing pipelines and tasks within these libraries to align with specific developmental goals and introduce novel functionalities.
- Facilitate a swift setup and implementation process, enabling teams to focus on development without being hindered by platform limitations.
Preconditions
- KubeRocketCI instance with GitHub and Tekton is configured;
- Developer has access to the KubeRocketCI instances using the Single-Sign-On approach;
- Developer has
Writepermissions for GitHub repository to merge the code; - Configured Argo CD instance with the Add-ons repository added.
Scenario
To streamline the process of implementing custom logic within the KubeRocketCI platform, follow this scenario:
- Add Custom Application: Begin by adding your application to the KubeRocketCI platform.
- Add Custom Tekton Library: Create and add a custom Tekton library designed to implement the CI/CD logic required by your application.
- Validate the Implementation: After setting up your Application and Tekton library, conduct testing to ensure that the pipelines execute as intended.
Add Custom Application to KubeRocketCI
A Custom Application refers to any application that utilizes a programming language, framework, or build tool not natively supported by the platform, or an existing application that necessitates specific customizations to its pipeline.
This encompasses scenarios where the default pipeline configurations and toolchains are unable to meet the unique requirements of the application, thereby requiring the development and integration of tailored solutions.
-
Open the KubeRocketCI portal. Use the Sign-In option:

-
In the top right corner, enter the
Account settingsand ensure that bothDefault namespaceandAllowed namespaceare set:
-
Select the Components tab and push the create + CREATE COMPONENT button:

-
Choose the
Applicationtype since it is intended for containerization and deployment within a Kubernetes cluster. Click the Next button.
-
Choose the
Clonestrategy, since we are cloning the application from the existing repository:
-
In the Add component info tab, define the following values and click the Proceed button:
- Repository URL:
https://github.com/epmd-edp/go-go-beego.git - Repository name:
tekton-hello-world - Component name:
tekton-hello-world - Description:
Custom tekton-hello-world application - Application code language:
Other - Language version/framework:
go - Build tool:
shell

- Repository URL:
-
In the Advances Settings tab, define the below values and click the Create button:
- Default branch:
main - Codebase versioning type:
edp - Leave
Specify the pattern to validate a commit messageempty.

- Default branch:
-
Check the application status. It should be green.
Now that the application is successfully created, proceed to adding the Tekton library to the KubeRocketCI platform.
It's important to align with the Tekton Pipeline name to ensure correct pipeline execution for review and build events.
The name for PipelineRun is dynamically generated via TriggerTemplates located in the pipelines-library and aligned to the structure provided below:
pipelineRef:
  name: github-$(tt.params.buildtool)-$(tt.params.framework)-$(tt.params.cbtype)-build-$(tt.params.versioning-type)
This naming convention facilitates the automatic creation of PipelineRun instances in response to payload from GitHub during Merge Request events. Ensure that the Pipeline name matches this structure to enable the correct triggering of pipeline executions.
In our case, the build pipeline name should be github-shell-go-app-build-edp
Add Tekton Library
KubeRocketCI allows for the creation of custom Tekton libraries to address specific project requirements. This feature enables the modification of existing pipelines and tasks to align with the unique needs of the application.
-
Select the Components tab and push the create + CREATE COMPONENT button:

-
Create a new Codebase with the
Librarytype:
-
Select Create from template and click Create button:
 note
noteThe KubeRocketCI
Createstrategy will automatically pull the code for the Tekton Helm application from the template. -
In the Application Info tab, define the following values and click the
Proceedbutton:- Repository name:
custom-tekton-chart - Component name:
custom-tekton-chart - Description:
Repository for storing and managing custom Tekton resources - Application code language:
Helm - Language version/framework:
Pipeline - Build tool:
Helm

- Repository name:
-
In the
Advances Settingstab, define the below values and click theApplybutton:- Default branch:
main - Codebase versioning type:
edp - Leave
Specify the pattern to validate a commit messageempty.

- Default branch:
-
Check the codebases status:

You have successfully added the custom Tekton library to the KubeRocketCI platform and are now ready to modify the Tekton pipeline to align with the specific requirements of your custom application.
Modify Tekton Pipeline
We strongly advise against altering the platform's default Tekton resources. To ensure seamless upgrades and maintain custom functionality, it is recommended to develop and manage your custom pipelines within a dedicated Custom Tekton Library. This approach safeguards your customizations and facilitates a smoother update process.
Now that the Tekton Helm library is created, it is time to clone, modify and then apply it to the Kubernetes cluster.
-
In the Components tab, click one of the
custom-tekton-chartto enter the application menu:
-
Navigate to Branches and click to the Git button:

-
Clone the repository with
SSHusing Code button:
-
Examine the repository structure. It should look this way by default:
tekton-custom-pipelines
├── Chart.yaml
├── templates
│   ├── pipelines
│   │   ├── deploy
│   │   │   ├── custom-clean.yaml
│   │   │   └── custom-deploy.yaml
│   │   ├── bitbucket-build-default.yaml
│   │   ├── bitbucket-build-edp.yaml
│   │   ├── bitbucket-build-lib-default.yaml
│   │   ├── bitbucket-build-lib-edp.yaml
│   │   ├── bitbucket-review.yaml
│   │   ├── gerrit-build-default.yaml
│   │   ├── gerrit-build-edp.yaml
│   │   ├── gerrit-build-lib-default.yaml
│   │   ├── gerrit-build-lib-edp.yaml
│   │   ├── gerrit-review.yaml
│   │   ├── github-build-default.yaml
│   │   ├── github-build-edp.yaml
│   │   ├── github-build-lib-default.yaml
│   │   ├── github-build-lib-edp.yaml
│   │   ├── github-review.yaml
│   │   ├── gitlab-build-default.yaml
│   │   ├── gitlab-build-edp.yaml
│   │   ├── gitlab-build-lib-default.yaml
│   │   ├── gitlab-build-lib-edp.yaml
│   │   └── gitlab-review.yaml
│   ├── resources
│   │   └── npm-settings.yaml
│   ├── tasks
│   │   ├── deploy
│   │   │   └── hello-world-deploy.yaml
│   │   └── hello-world.yaml
│   └── triggers
│       ├── custom-clean.yaml
│       └── custom-deploy.yaml
└── values.yaml
For more detailed information and explanations regarding the repository structure, please refer to Creating and Using Custom Tekton Pipelines use case.
noteUpdate the values in the
values.yamlfile.The dnsWildCard parameter is the platform address.
Below is a sample configuration for the
values.yamlfile:dnsWildCard: "example.domain.com" -
Modify and add tasks or pipelines.
Consider the scenario where it's necessary to incorporate the
helm-linttask into the review pipeline. To achieve this, append the following code snippet to thetemplates/pipelines/github-review.yamlfile, specifically below thehello-worldtask, located here: github-review.yaml:apiVersion: tekton.dev/v1beta1
kind: Pipeline
metadata:
name: github-shell-go-app-review
...
- name: hello-world
taskRef:
name: hello-world
runAfter:
- init-values
params:
- name: BASE_IMAGE
value: "$(params.image-version)"
- name: username
value: "$(params.username)"
workspaces:
- name: source
workspace: shared-workspace
subPath: source
- name: helm-lint
taskRef:
kind: Task
name: helm-lint
runAfter:
- hello-world
params:
- name: EXTRA_COMMANDS
value: |
ct lint --validate-maintainers=false --charts deploy-templates/
workspaces:
- name: source
workspace: shared-workspace
subPath: sourcenoteThe
helm-linttask references to the defaultpipeline-libraryHelm chart which is deployed to the cluster as part of the KubeRocketCI setup process.The
runAfterparameter indicates the execution sequence, specifying that thehelm-linttask is scheduled to run subsequent to the completion of thehello-worldtask.Also, in the
templates/pipelines/github-build-edp.yamlfile, specify the namegithub-shell-go-app-build-edpfor the custom build pipeline:apiVersion: tekton.dev/v1beta1
kind: Pipeline
metadata:
name: github-shell-go-app-build-edp
... -
Commit and push the modified Tekton Helm chart to GitHub:
git checkout -b helm
git add .
git commit -m "Add Helm chart testing for go-shell application"
git push -u origin helm -
Navigate Github -> Pull requests -> Compare & pull request -> Create pull request.

-
Check the GitHub code review for the custom Helm chart pipelines repository in KubeRocketCI. Navigate Components -> Component name and click to the review pipeline run:

-
Explore the pipeline status and steps:

-
Go to the GitHub Pull requests -> Add Helm chart testing for go-shell application -> and click Merge pull request:

Deliver Custom Tekton Pipelines to the cluster
To deploy custom pipelines to the cluster, you can use Argo CD, which includes a repository with add-ons.
To deliver custom Tekton pipelines to the cluster, follow these steps:
-
Clone the forked repository with add-ons and make the following changes. In the
clusters/core/apps/values.yamlfile, set therepoUrlandnamespacefields to specify the Git URL of thetekton-custom-pipelinesrepository and the namespace where the KubeRocketCI platform is deployed. Also, set thekuberocketci-pipelines.enabledfield totrueto enable the deployment of thetekton-custom-pipelinesArgo CD Application:kuberocketci-pipelines:
enable: true
namespace: <krci-namespace>
repoUrl: ssh://git@github.com:22/<account-name>/tekton-custom-pipelines.git -
Commit and push the changes to the repository.
After making the necessary changes, commit and push the changes to the repository. Use the following commands to commit and push the changes:
git add .
git commit -m "Enable custom Tekton pipelines deployment"
git push origin main -
After pushing the changes, access Argo CD, navigate to the Application that corresponds to the repository with the add-ons, and initiate the
Syncprocess. This will apply thetekton-custom-pipelinesHelm Chart to the cluster within the specified namespace.
Create Application Merge Request
Since we applied the Tekton library to the Kubernetes cluster in the previous step, let's test the review and build pipelines for our tekton-hello-world application.
Perform the below steps to merge new code (Merge Request) that passes the Code Review flow. For the steps below, we use GitHub UI but the same actions can be performed using the command line and Git tool:
-
In the Components tab, click one of the
custom-tekton-chartto enter the application menu. -
Navigate to Branches and click to the Git button:

-
Navigate to the Branches menu, create new branch from New branch menu with name
test, and the click on the test branch:
-
Change file
deploy-templates/values.yamlwith values below:...
ingress:
enabled: true
...
-
Navigate to the Pull requests -> Compare & pull request -> and click Create pull request:
-
Check the Review Pipeline status. Navigate KubeRocketCI -> Components ->
tekton-hello-worldand click on review pipeline. Thehelm-linttask should be displayed there:
-
After review procedure successfully ended - approve merge request. Navigate Github -> Pull requests ->
testand click on Merge pull request button. Then, your code is merged to the main branch, triggering the Build Pipeline: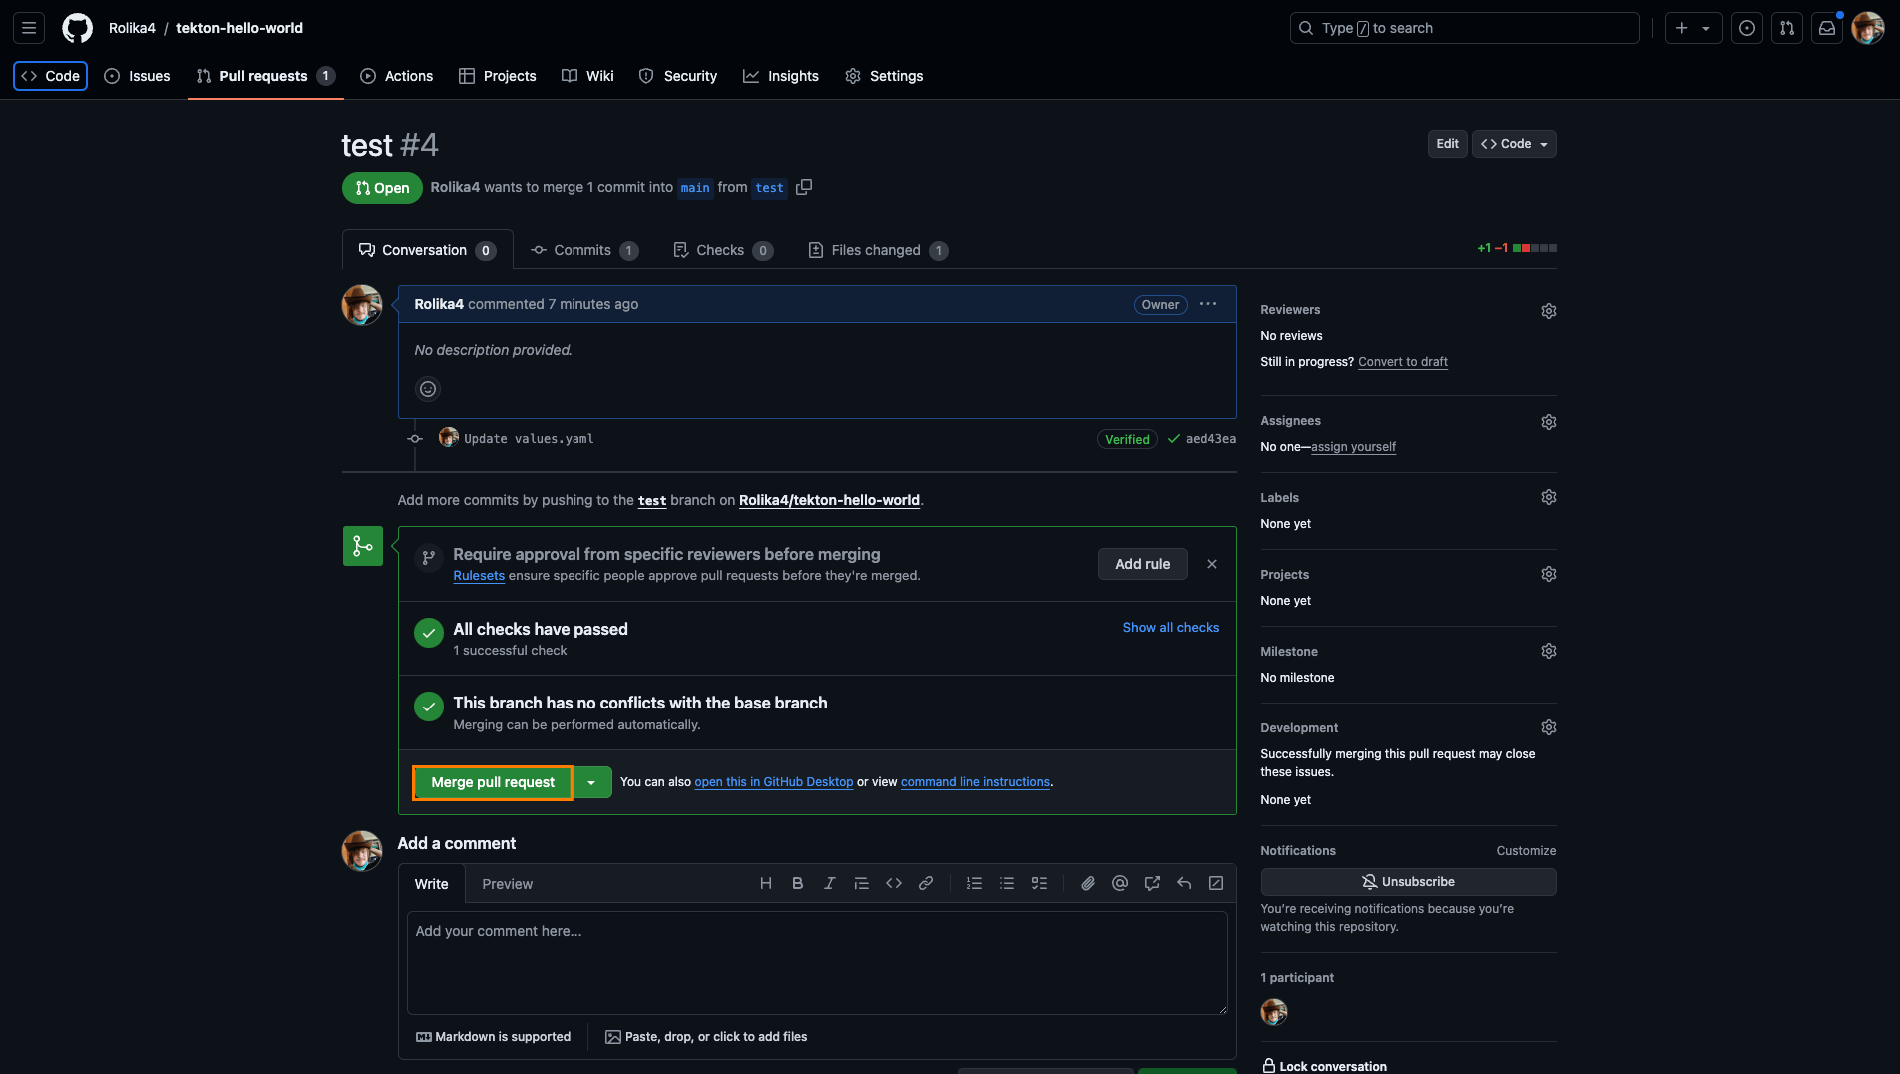
-
Check the pipelines in the KubeRocketCI dashboard:

Under the hood, the following process takes place:
- GitHub sends a payload to the Tekton EventListener when a Merge Request event occurs.
- The EventListener captures the payload with the assistance of an Interceptor.
- The TriggerTemplate creates a PipelineRun.
The detailed scheme is shown below:
This chart will be using the core of common-library and pipelines-library and custom resources on the top of them.